Love this? Save it for later!
Share the inspiration with your friends
Introduction
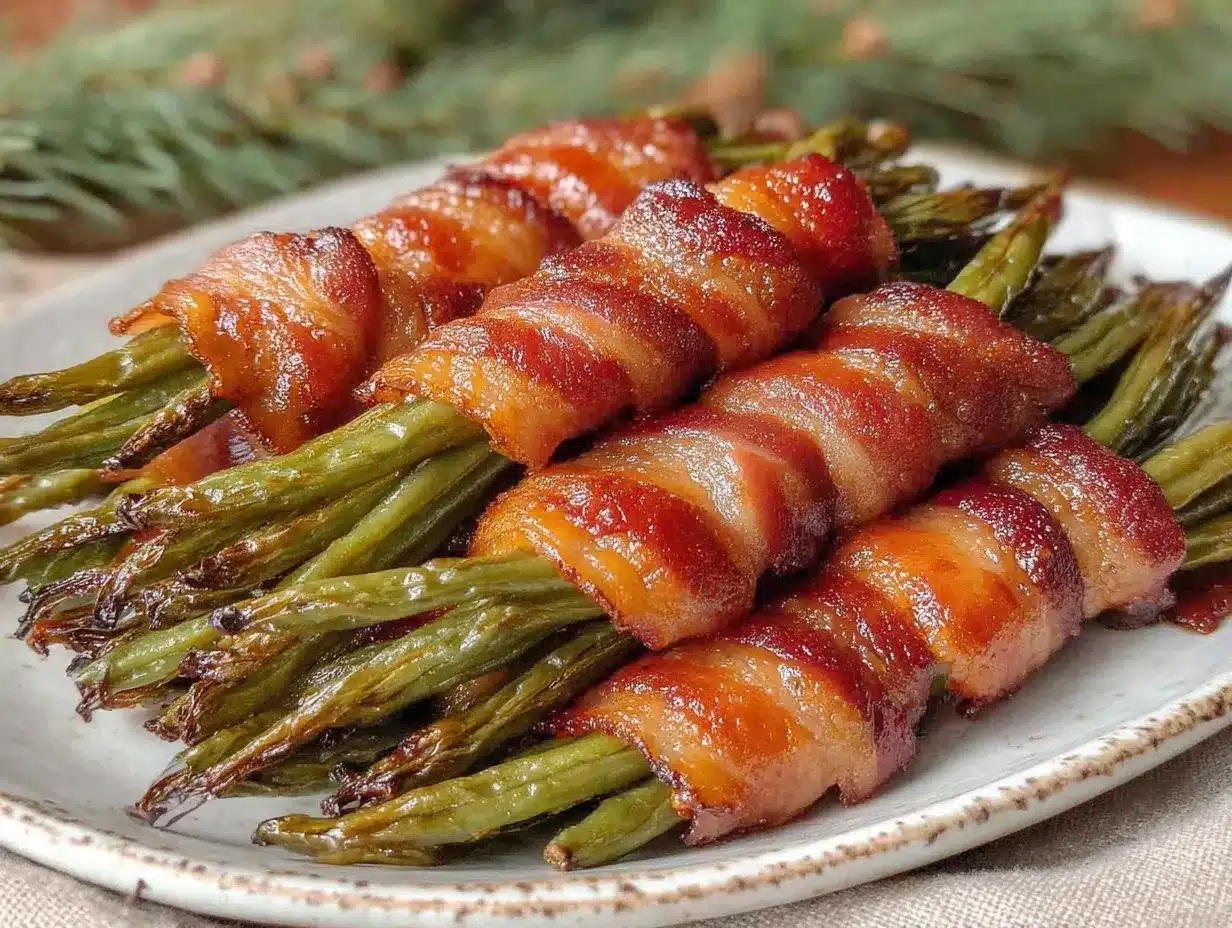
“You won’t believe your kids will eat green beans like this,” my friend Lisa said with a grin last summer as she handed me a plate of these crispy bacon-wrapped green beans. Honestly, I was skeptical. Green beans have always been the broccoli’s quiet cousin in my house—neglected and often left behind on the plate. But Lisa wasn’t just tossing some bacon-wrapped veggies together on a whim; she swore this was the snack that saved her family’s dinner routine.
That afternoon, as I took my first bite, I couldn’t help but notice the perfect crunch of the bacon paired with the fresh snap of green beans. The sizzle from the oven still echoed in my ears, and the aroma was downright irresistible. Maybe you’ve been there—trying to sneak vegetables into meals without a battle. Well, this recipe isn’t about hiding greens; it’s about celebrating them with a smoky, crispy twist that kids actually ask for.
Oh, and full confession: I forgot to preheat the oven the first time I made this (classic me), but somehow the result was still delicious—just a little less crispy. That little mishap reminded me that good food doesn’t have to be perfect, and neither do you. Since then, these bacon-wrapped green beans have become my go-to when I want a quick, crowd-pleasing snack that sneaks in some greens without the fuss. Honestly, once you try this, you’ll understand why this recipe sticks around in my kitchen rotation.
Why You’ll Love This Recipe
This crispy bacon-wrapped green beans recipe is a winner in so many ways, and I’m excited to share why it’s become a staple in my household—and hopefully yours too!
- Quick & Easy: Ready in under 30 minutes, making it perfect for busy weeknights or last-minute snack cravings.
- Simple Ingredients: Uses pantry staples and fresh green beans—no fancy trips needed.
- Perfect for Any Occasion: Whether it’s a casual family snack, holiday appetizer, or lunchbox surprise, it fits right in.
- Crowd-Pleaser: Kids and adults both love the crunchy bacon paired with tender green beans—no complaints here!
- Unbelievably Delicious: The smoky, salty bacon perfectly balances the fresh, slightly sweet snap of green beans.
This isn’t just another bacon-wrapped veggie idea. The secret lies in the layering technique I learned from a chef friend who swears by wrapping just the right amount of bacon so it crisps perfectly without overpowering the green beans. Plus, a sprinkle of black pepper and a hint of garlic powder make this snack sing. It’s a simple twist, but trust me, it makes all the difference.
When you bite into these, you get that satisfying crunch and a burst of flavor that turns a humble vegetable into a treat. It’s the kind of recipe that makes you close your eyes and savor every bite—comfort food with a healthy nod. If you’ve ever struggled to get your kids—or yourself—to enjoy veggies, this recipe might just change the game.
What Ingredients You Will Need
This recipe uses simple, wholesome ingredients to deliver bold flavor and a satisfying crunch without the fuss. You likely have most of these in your kitchen, and the green beans add a fresh, vibrant touch that balances the smoky bacon beautifully.
- Fresh green beans (about 1 pound/450g, trimmed) – look for firm, bright green beans with no blemishes.
- Bacon strips (12 slices) – I recommend thick-cut bacon for the best crispy texture; Applegate brand works great for quality.
- Olive oil (1 tablespoon) – helps the green beans roast nicely; use extra virgin for subtle flavor.
- Garlic powder (1/2 teaspoon) – adds a gentle savory note.
- Black pepper (1/4 teaspoon) – freshly cracked if possible for a little kick.
- Salt (to taste) – bacon is salty, so go light here and adjust after cooking.
- Optional: Smoked paprika (1/4 teaspoon) – for a smoky depth if you want to boost the flavor.
If you want to make this gluten-free, the recipe is naturally so as long as your bacon doesn’t have any additives. For a dairy-free option, this recipe is already perfect. In summer, swapping fresh green beans with blanched snap peas can add a fun twist. And if thick-cut bacon isn’t available, thin slices work—just watch the cooking time closely.
Equipment Needed
- Baking sheet: A rimmed baking sheet is best to catch any drips and keep everything tidy. I use a non-stick one, but parchment paper works great for easy cleanup.
- Mixing bowl: For tossing the green beans in olive oil and spices.
- Kitchen twine or toothpicks: Optional, but helpful to secure the bacon if it tends to unravel.
- Tongs: Useful for turning the bundles halfway through baking without breaking the bacon.
- Wire rack (optional): Placing the bundles on a wire rack over the baking sheet helps the bacon crisp evenly by letting the fat drip away.
If you don’t have a wire rack, no worries—just rotate the bundles more frequently. For budget-friendly baking sheets, look for heavy-duty aluminum pans that won’t warp. My favorite tongs are silicone-tipped to avoid scratching my pans.
Preparation Method
- Preheat your oven to 400°F (200°C). This temperature crisps the bacon nicely while roasting the green beans.
- Trim the green beans: Rinse 1 pound (450g) of fresh green beans, snapping or cutting off the ends. Pat dry thoroughly to help the bacon stick better.
- Season the green beans: In a mixing bowl, toss the green beans with 1 tablespoon olive oil, 1/2 teaspoon garlic powder, 1/4 teaspoon black pepper, and a light sprinkle of salt. Make sure each bean is coated evenly.
- Form bundles: Take about 6-8 green beans and wrap them tightly with one slice of bacon. If needed, secure with a toothpick or kitchen twine. Repeat until all green beans are wrapped.
- Arrange on baking sheet: Place the bundles seam-side down on a wire rack set over a baking sheet, or directly on a parchment-lined sheet if you don’t have a rack. Leave space between bundles for even cooking.
- Bake for 20-25 minutes: Roast until the bacon is crispy and browned, turning the bundles halfway through cooking. Keep an eye on them—ovens vary, and bacon can go from perfect to burnt quickly.
- Rest and serve: Remove bundles from the oven and let rest for 3-5 minutes before serving. This helps the bacon firm up and keeps the green beans tender-crisp.
Tip: If the bacon isn’t crisping enough, turn on the broiler for the last 1-2 minutes—just watch carefully! If you forget to dry the green beans well (guilty here), the bacon might slip or not crisp as well. Patience and drying are key. Also, I like to line the sheet with foil for easier clean-up, especially since bacon fat can get messy.
Cooking Tips & Techniques
Getting that perfect crispy bacon with tender green beans takes a bit of practice, but here’s what I’ve learned from my kitchen experiments:
- Use thick-cut bacon: It crisps better and holds the bundles together without burning too fast.
- Don’t overcrowd the pan: Give each bundle room to cook evenly. Crowding traps moisture and leads to soggy bacon.
- Dry green beans thoroughly: Moisture is the enemy of crispiness. I always use a salad spinner or towel them off well.
- Turn bundles halfway: Flipping helps bacon cook evenly without burning one side.
- Watch the oven closely: Bacon can go from crispy to burnt in minutes, so set a timer and stay nearby.
- Rest before serving: Let the bundles cool a bit; this firms the bacon and lets flavors settle.
Honestly, the first time I made these I left them in a bit too long and ended up with a smoky kitchen and a slightly bitter bite. Lesson learned: don’t wander off! Also, if you want to save time, you can prepare the bundles earlier and refrigerate them until ready to bake—just add a couple extra minutes to the cooking time.
Variations & Adaptations
This recipe is flexible, so you can tweak it to suit your taste or dietary needs. Here are some ideas I’ve tried or heard from friends:
- Spicy Kick: Add a pinch of cayenne pepper or drizzle with sriracha before baking for a little heat.
- Cheesy Twist: Sprinkle shredded parmesan or cheddar over the bundles in the last 5 minutes of baking.
- Low-Sodium Option: Use turkey bacon or reduced-sodium bacon, and reduce added salt.
- Vegetarian Version: Wrap green beans with thin slices of smoked tempeh or marinated eggplant strips instead of bacon.
- Seasonal Swap: Use asparagus spears or snap peas instead of green beans for a change of pace.
My personal favorite is the cheesy twist—sprinkling parmesan makes it feel a bit fancy but still kid-friendly. For gluten-free eaters, just double-check your bacon brand for additives. And if you want to make these ahead for a party, bake them until almost done, then finish under the broiler right before serving to refresh the crispiness.
Serving & Storage Suggestions
These bacon-wrapped green beans are best enjoyed warm, right out of the oven when the bacon is at its crispiest and the green beans have that perfect snap. Serve them as a snack, appetizer, or side dish alongside your favorite mains. They pair beautifully with dishes like crispy garlic chicken or a light pasta salad.
To store leftovers, place them in an airtight container in the refrigerator for up to 3 days. Reheat by placing them on a baking sheet in a 350°F (175°C) oven for 5-7 minutes to regain some crispness. Avoid microwaving if possible, as it can make the bacon chewy.
Flavors tend to meld a bit after a day, making the green beans even more savory, though you’ll lose some crisp texture. So, if you want the full experience, try to enjoy them fresh.
Nutritional Information & Benefits
This recipe offers a tasty way to sneak some veggies into your diet with the added protein and fat from bacon for satiety. Per serving (about 3 bundles), you’re getting roughly:
- Calories: 180-220
- Protein: 8-10g
- Fat: 14g (mostly from bacon and olive oil)
- Carbohydrates: 5g
- Fiber: 2g
Green beans are rich in vitamins A, C, and K, plus antioxidants and fiber, which support digestion and overall health. Bacon adds flavor but is higher in sodium and fat, so moderation is key.
This recipe fits well into low-carb or gluten-free diets and can be adapted for lower sodium if needed. From my wellness perspective, it’s a fun way to balance indulgence with nutrition, especially when your kids are involved and eating their greens happily.
Conclusion
If you’ve ever wrestled with getting kids—or even adults—to eat veggies, this crispy bacon-wrapped green beans recipe might just become your secret weapon. It’s simple, quick, and honestly, pretty fun to make. The combination of smoky, crispy bacon with fresh, crunchy green beans hits that perfect snack spot, comforting and satisfying without feeling heavy.
Feel free to tweak the seasoning or try the variations to make it your own. I love this recipe because it turns something ordinary into an extraordinary snack that brings smiles around the kitchen table. So grab some bacon and green beans, and give it a go—you might find it becoming a family favorite like it did in my friend Lisa’s kitchen.
Don’t forget to share your tweaks or questions below—I’m always curious how readers make this snack theirs!
FAQs
Can I use frozen green beans for this recipe?
Frozen green beans tend to be softer and wetter, which can make the bacon less crispy. If you use frozen, thaw and pat them dry thoroughly before wrapping and baking.
How can I make this recipe vegetarian?
You can substitute bacon with smoked tempeh strips or marinated eggplant slices for a smoky, savory flavor without meat.
What’s the best way to keep the bacon from unraveling?
Wrapping tightly and securing with a toothpick or kitchen twine helps keep the bacon in place during cooking.
Can I prepare the bundles ahead of time?
Yes! Assemble the bundles, cover, and refrigerate for up to 24 hours. Bake when ready, adding a few extra minutes to cooking time if chilled.
Is there a way to make this recipe less salty?
Use reduced-sodium or turkey bacon and reduce added salt in the seasoning. You can also rinse bacon briefly before wrapping to remove some surface salt.
Pin This Recipe!
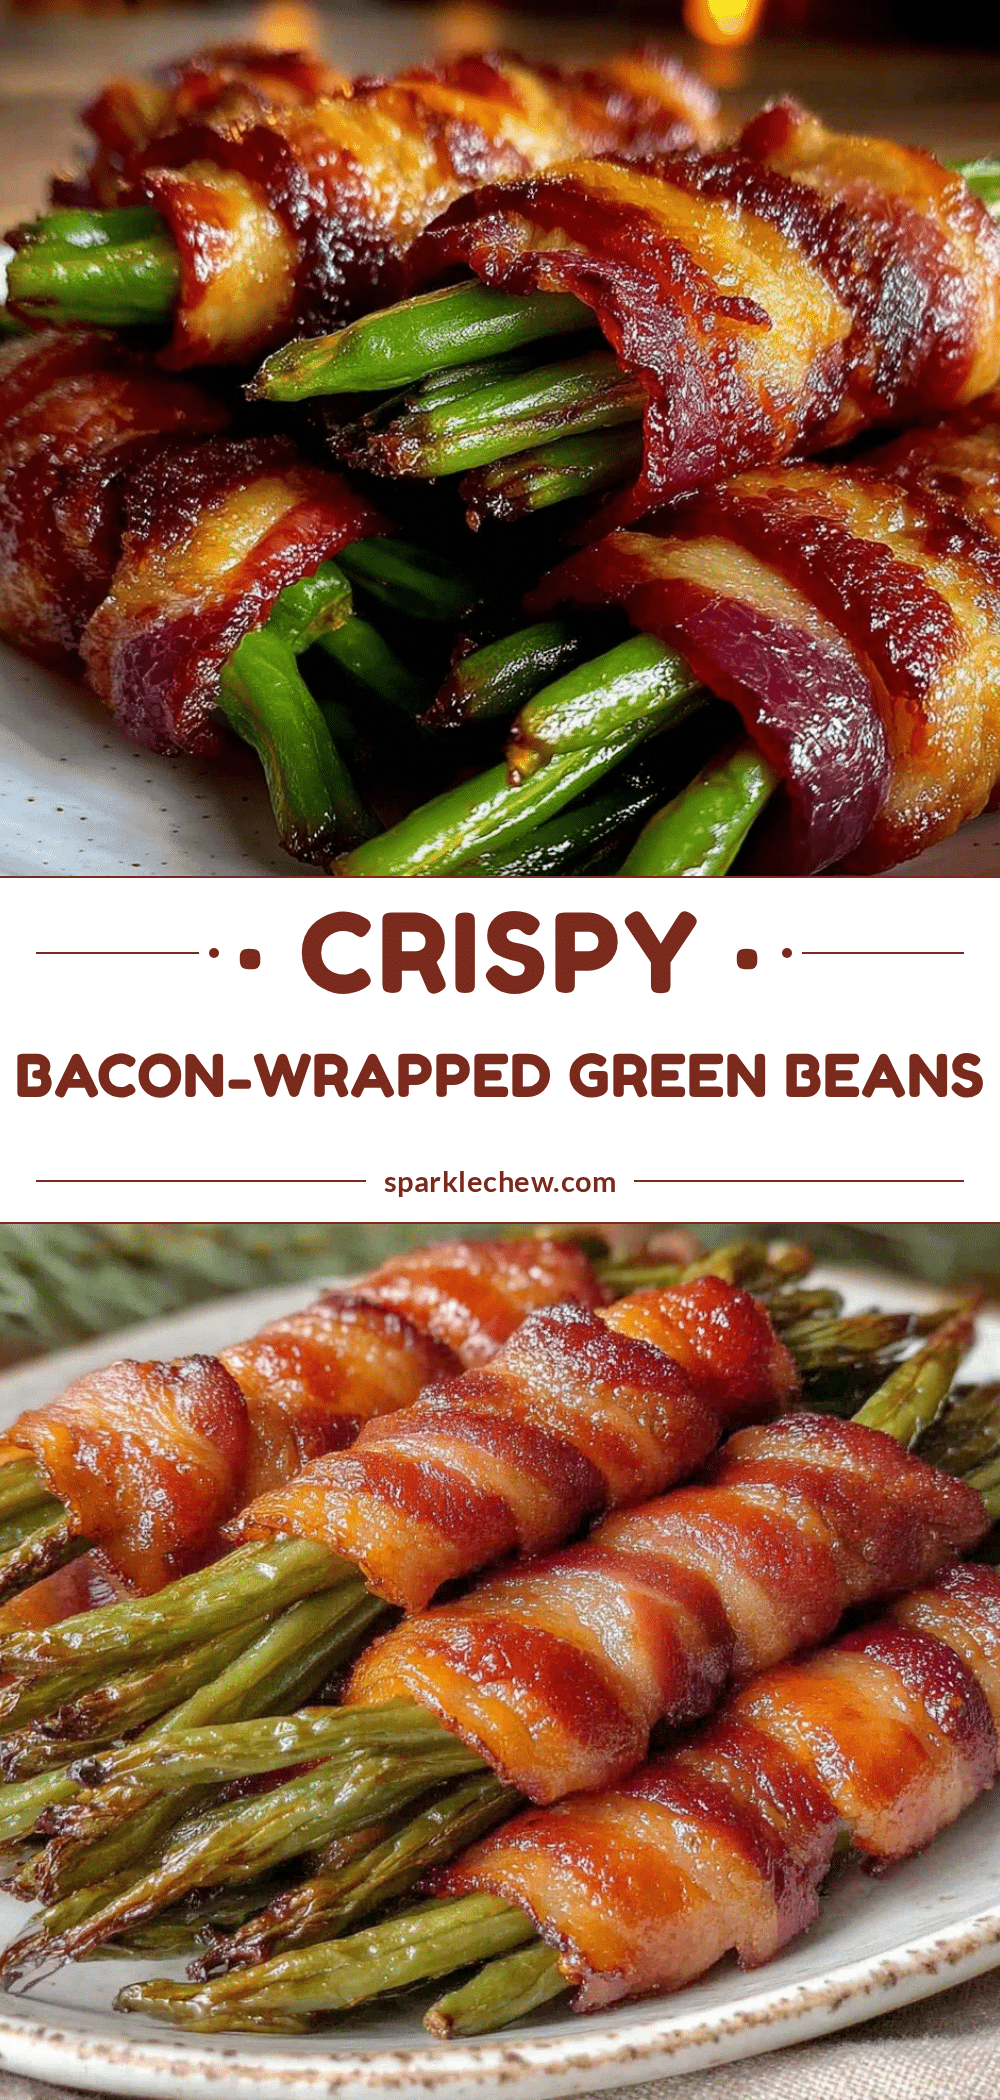
Crispy Bacon-Wrapped Green Beans
A quick and easy kid-approved snack featuring fresh green beans wrapped in crispy bacon with a smoky, savory twist.
- Prep Time: 10 minutes
- Cook Time: 25 minutes
- Total Time: 35 minutes
- Yield: 4 servings 1x
- Category: Snack
- Cuisine: American
Ingredients
- 1 pound (450g) fresh green beans, trimmed
- 12 slices thick-cut bacon
- 1 tablespoon extra virgin olive oil
- 1/2 teaspoon garlic powder
- 1/4 teaspoon freshly cracked black pepper
- Salt to taste
- Optional: 1/4 teaspoon smoked paprika
Instructions
- Preheat your oven to 400°F (200°C).
- Trim the green beans by rinsing and snapping or cutting off the ends. Pat dry thoroughly.
- In a mixing bowl, toss the green beans with olive oil, garlic powder, black pepper, and a light sprinkle of salt until evenly coated.
- Form bundles by taking about 6-8 green beans and wrapping them tightly with one slice of bacon. Secure with a toothpick or kitchen twine if needed. Repeat until all green beans are wrapped.
- Arrange the bundles seam-side down on a wire rack set over a baking sheet, or directly on a parchment-lined baking sheet if no rack is available. Leave space between bundles.
- Bake for 20-25 minutes, turning the bundles halfway through, until the bacon is crispy and browned.
- Remove from oven and let rest for 3-5 minutes before serving.
Notes
Use thick-cut bacon for best crispiness. Dry green beans thoroughly to help bacon stick and crisp. Turn bundles halfway through baking to cook evenly. If bacon isn’t crisping enough, broil for last 1-2 minutes watching carefully. Bundles can be prepared ahead and refrigerated up to 24 hours before baking, adding a few extra minutes to cook time. Avoid microwaving leftovers to maintain crispiness.
Nutrition
- Serving Size: About 3 bundles per
- Calories: 200
- Sugar: 2
- Sodium: 450
- Fat: 14
- Saturated Fat: 5
- Carbohydrates: 5
- Fiber: 2
- Protein: 9
Keywords: bacon wrapped green beans, crispy bacon, kid-friendly snack, easy veggie recipe, healthy snack, low-carb, gluten-free