Love this? Save it for later!
Share the inspiration with your friends
“Why can’t you just toss the cucumbers in some vinegar and call it pickles?” my friend asked during one of our late-night kitchen experiments. I started to explain why that wouldn’t work — then stopped. Honestly, she was onto something. That night, amid a cluttered countertop with a cracked mixing bowl and a forgotten garlic clove rolling away, we threw together what I later called my Quick Tangy Garlic Dill Refrigerator Pickles. I mean, who knew that something so simple could taste this good?
At first, I was skeptical. I’ve always believed pickling was a time-consuming art reserved for patient pros. But this recipe proved me wrong and, frankly, humbled me. The tangy zip from the garlic and dill combined with the crisp cucumber crunch was everything I hoped for — and more. Maybe you’ve been there too, doubting a shortcut only to have it surprise you. This simple, speedy pickle recipe stuck with me because it’s perfect for those moments when you want fresh homemade pickles without the fuss.
Since that night, I’ve made these pickles countless times — as last-minute snacks, quick sandwich toppers, or even as a zesty addition to salads. They hold up beautifully in the fridge, and each batch reminds me to trust the basics sometimes. So let me tell you how to make these Quick Tangy Garlic Dill Refrigerator Pickles that might just change how you think about pickling.
Why You’ll Love This Recipe
Making pickles at home usually sounds like a big deal, right? But with this Quick Tangy Garlic Dill Refrigerator Pickles recipe, you get all the flavor with none of the hassle. I’ve tested this recipe over several seasons, tweaking the garlic and dill balance until it was just right — and every time, it delivers.
- Quick & Easy: Ready to eat in just 24 hours, so perfect for busy weeknights or when you forgot to buy pickles at the store.
- Simple Ingredients: No need to hunt down specialty items — you probably have everything on hand already, from fresh cucumbers to dried dill.
- Perfect for Snacking & Meals: These pickles add a punch to sandwiches, burgers, or just a crunchy snack straight from the jar.
- Crowd-Pleaser: Friends and family never guess these took less than a day to make — they always ask for the recipe!
- Unbelievably Delicious: The garlic and dill create a bright, tangy flavor that’s not too overpowering but just enough to keep you coming back for more.
This recipe isn’t just another pickle jar on your shelf. It’s my go-to when I want something fresh and tangy without the long wait. The magic lies in the quick soak in a garlicky, dill-infused brine that keeps the cucumbers crisp and bursting with flavor. Honestly, it’s like homemade pickle perfection without the fuss.
What Ingredients You Will Need
This recipe uses simple, wholesome ingredients to deliver bold flavor and satisfying crunch without any complicated steps or rare finds. Most are pantry staples, but I’ve included a few tips to help you pick the best ones.
- Fresh Cucumbers: About 1 pound (450 grams) of small to medium cucumbers, preferably Kirby or pickling cucumbers for extra crunch.
- Garlic Cloves: 3-4 large cloves, peeled and lightly smashed (this adds that signature tangy garlic punch).
- Dill: 2 tablespoons of dried dill weed or 4-5 sprigs of fresh dill (fresh gives a brighter flavor, but dried works well too).
- White Vinegar: 1 cup (240 ml), the key to that tanginess. I recommend Heinz for consistent acidity.
- Water: 1 cup (240 ml), to balance the vinegar’s sharpness.
- Salt: 1 tablespoon kosher salt or pickling salt (table salt can be used but may affect clarity and flavor).
- Sugar: 1 teaspoon (optional, for a slight sweetness to balance the tang).
- Black Peppercorns: 1 teaspoon whole peppercorns (adds subtle spice without heat).
- Red Pepper Flakes: ¼ teaspoon (optional, for a little kick if you like it spicy).
If you want to try a twist, you can swap white vinegar for apple cider vinegar for a fruitier tang, or use coconut sugar if you prefer a natural sweetener. For a gluten-free version, all these ingredients are safe as is, but always double-check your salt and spices’ labels.
Equipment Needed
- Glass Jar or Container: A quart-sized (1-liter) jar with a lid works great. Mason jars are perfect because they seal well and are easy to clean.
- Measuring Cups and Spoons: For precise vinegar, water, salt, and spices measurement.
- Mixing Bowl: To combine brine ingredients before pouring over cucumbers.
- Knife and Cutting Board: For slicing cucumbers and prepping garlic.
- Small Saucepan: Optional, if you prefer to warm the brine to dissolve salt and sugar (though cold brining works fine too).
If you don’t have a jar, any non-reactive container with a lid, like a ceramic crock or a plastic container, will do. Just avoid metal because vinegar reacts and can ruin the flavor. Personally, I like using wide-mouth jars since they make packing cucumbers easier and cleaning a breeze afterward.
Preparation Method
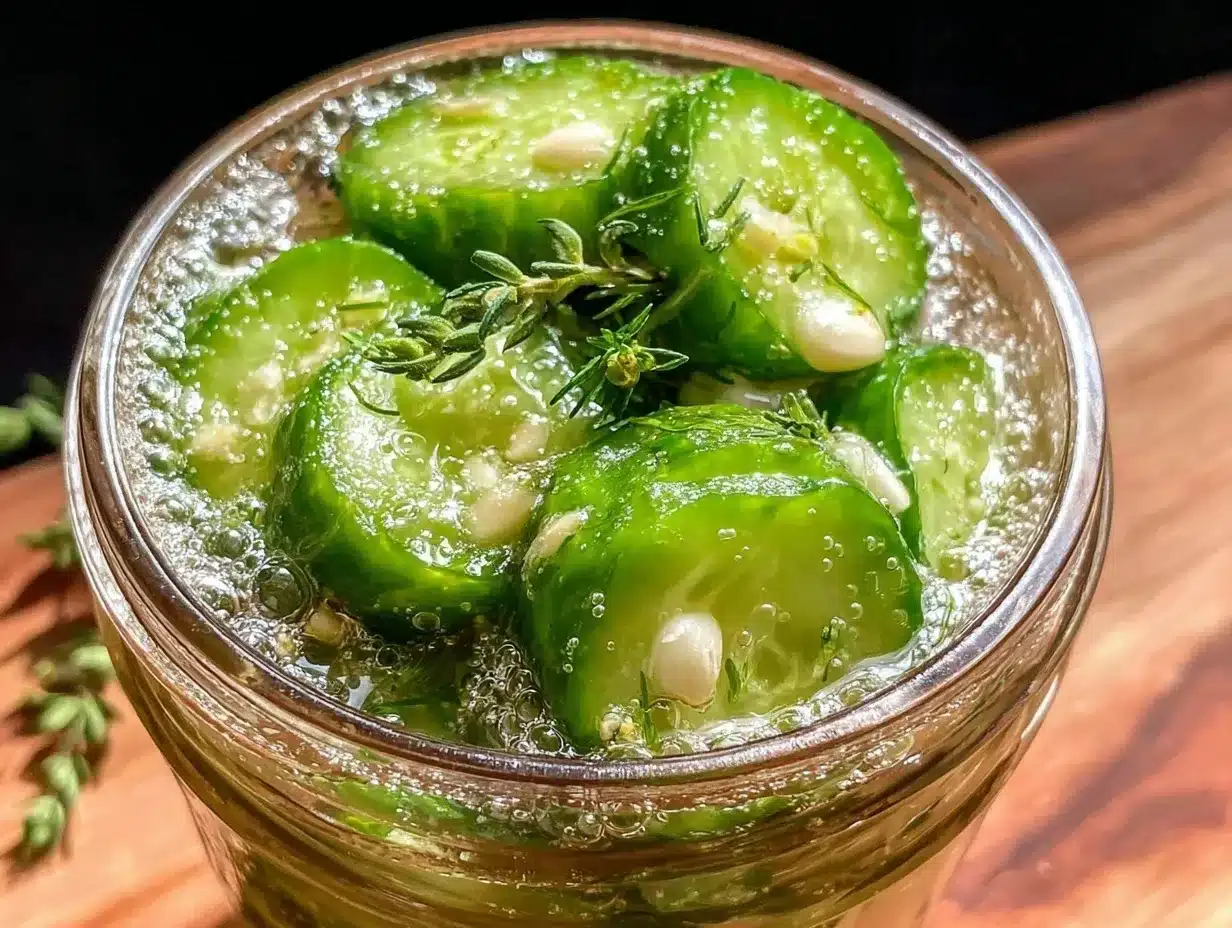
- Prepare the Cucumbers: Wash 1 pound (450 grams) of fresh cucumbers thoroughly. Slice them into ¼-inch (0.6 cm) thick rounds or spears depending on your preference. I usually go with spears because they’re easier to grab as a snack. Set aside.
- Make the Brine: In a mixing bowl, combine 1 cup (240 ml) white vinegar, 1 cup (240 ml) water, 1 tablespoon kosher salt, and 1 teaspoon sugar (if using). Stir until the salt and sugar dissolve completely. If you want to speed this up, gently warm the mixture on the stove until dissolved but don’t boil — cool it before using.
- Add Flavorings: Toss in 3-4 smashed garlic cloves, 2 tablespoons dried dill weed or fresh dill sprigs, 1 teaspoon whole black peppercorns, and ¼ teaspoon red pepper flakes if desired. The garlic and dill really give this recipe that distinct tang and aroma.
- Pack the Jar: Place your sliced cucumbers in a clean quart (1-liter) jar or container. Pack tightly but don’t crush them — the crunch is the whole point.
- Pour the Brine: Pour the brine mixture over the cucumbers, covering them completely. If some cucumbers float up, push them down gently to submerge. You can put a small clean weight or a folded piece of parchment paper on top to keep everything submerged.
- Seal and Refrigerate: Screw on the lid tightly and place the jar in the refrigerator. The pickles will start to develop flavor after 24 hours but taste best after 48 hours.
- Enjoy: Your Quick Tangy Garlic Dill Refrigerator Pickles are ready to eat! Keep them refrigerated and consume within 2 weeks for the best crunch and flavor.
One thing I learned the hard way: don’t skip the smashing of the garlic. It releases just enough oils to make the pickles zing without becoming overwhelming. Also, if your cucumbers soften too quickly, make sure they’re fresh and firm next time — or try adding a grape leaf to the jar (weird but true for extra crispness).
Cooking Tips & Techniques
Here’s the thing about refrigerator pickles: timing and balance are everything. I’ve had batches that were too sour or too soft because I rushed or mismeasured. Here’s what I’ve learned:
- Use Fresh Cucumbers: The crunch depends on it. Avoid cucumbers with soft spots or wrinkles.
- Don’t Overdo the Garlic: A little goes a long way. Too much can overpower the brine and make it bitter.
- Salt Type Matters: Pickling or kosher salt is best. Table salt can cloud the brine and affect flavor.
- Keep Cucumbers Submerged: Air exposure leads to mushy or moldy pickles. Weights or parchment paper help.
- Patience Pays Off: At least 24 hours is needed for flavor, but 48 hours is ideal for that perfect tang.
- Multitasking Tip: While the pickles chill, use that time to prep a quick sandwich or try your hand at homemade quick garlic pita bread to pair perfectly.
Honestly, my first batch was a mess (I forgot the salt!). But every time I tweak the brine ratio, I get closer to that perfect balance. Don’t be afraid to taste as you go and adjust for your personal tang tolerance.
Variations & Adaptations
Want to switch things up? These pickles are super adaptable, so here are a few ways to make them your own:
- Spicy Pickles: Add more red pepper flakes or a sliced jalapeño for heat.
- Sweet & Tangy: Increase sugar to 2 tablespoons and add a cinnamon stick for a sweeter twist.
- Herb Variations: Swap dill for fresh tarragon or fresh basil for a different herbal note.
- Low Sodium: Reduce salt to half and add a splash of lemon juice for brightness.
- Quick Fermented Pickles: Leave the jar at room temperature for 1-2 days before refrigerating to develop a mild ferment.
I once tried tossing in some crushed coriander seeds and ended up with a flavor combo that surprised all my guests — a little more exotic but still totally approachable. Feel free to experiment with fresh herbs and spices you love.
Serving & Storage Suggestions
These Quick Tangy Garlic Dill Refrigerator Pickles are best served cold straight from the jar. I love them sliced over creamy tuna salad or tucked into a turkey sandwich for that extra crunch. They also make a fantastic side for grilled meats or as a zesty snack on their own.
Store the pickles in the refrigerator, tightly sealed, for up to 2 weeks. The flavors will meld and intensify over time — sometimes better after a few days — but the crunch may soften eventually. If you want the crispiest pickles, eat them within a week.
To re-crisp slightly softened pickles, soak them in ice water for 15 minutes before serving. It’s a little trick I picked up from a local deli, and it really works wonders.
Nutritional Information & Benefits
These pickles are low in calories (about 10 calories per serving), fat-free, and provide a good source of vitamin K from the cucumbers and dill. Garlic adds antioxidants and supports immune health, while vinegar may aid digestion.
Gluten-free and keto-friendly, these pickles fit well into many dietary lifestyles. Just watch the sugar if you’re strictly low-carb. They’re a tasty way to add flavor without loading up on calories or processed ingredients. Honestly, I feel better snacking on these than most store-bought options loaded with preservatives.
Conclusion
If you’re looking for a simple, fast, and delicious way to enjoy homemade pickles, this Quick Tangy Garlic Dill Refrigerator Pickles recipe is for you. It’s a no-fail, no-fuss approach that delivers fresh flavor and crunch in less than two days. Customize it to your taste, make it your own, and enjoy the satisfaction of homemade pickles anytime you want.
Personally, this recipe reminds me to listen more and doubt less — sometimes the simplest ideas are the best. I’d love to hear how you put your own spin on it or what you pair these pickles with in your kitchen. Don’t be shy: leave a comment or share your pics!
Happy pickling, friends. Here’s to crunchy, tangy goodness on demand.
Frequently Asked Questions
How long do refrigerator pickles last?
They last about 2 weeks in the refrigerator when kept sealed and submerged in brine. For best crunch and flavor, try to eat them within 7-10 days.
Can I use regular cucumbers instead of pickling cucumbers?
You can, but pickling cucumbers are firmer and less watery, resulting in crunchier pickles. Regular cucumbers may become softer faster.
Do I have to cook the brine?
No, you don’t have to. Warming the brine helps dissolve salt and sugar faster, but cold brine works just fine if you stir well.
Can I make these pickles vegan and gluten-free?
Yes! This recipe is naturally vegan and gluten-free as long as your salt and spices don’t contain additives. Always check labels if you’re unsure.
What if my pickles turn out soft?
Soft pickles usually mean the cucumbers weren’t fresh or weren’t fully submerged in brine. Use firm cucumbers and keep them covered to avoid softening.
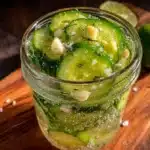
Pin This Recipe!
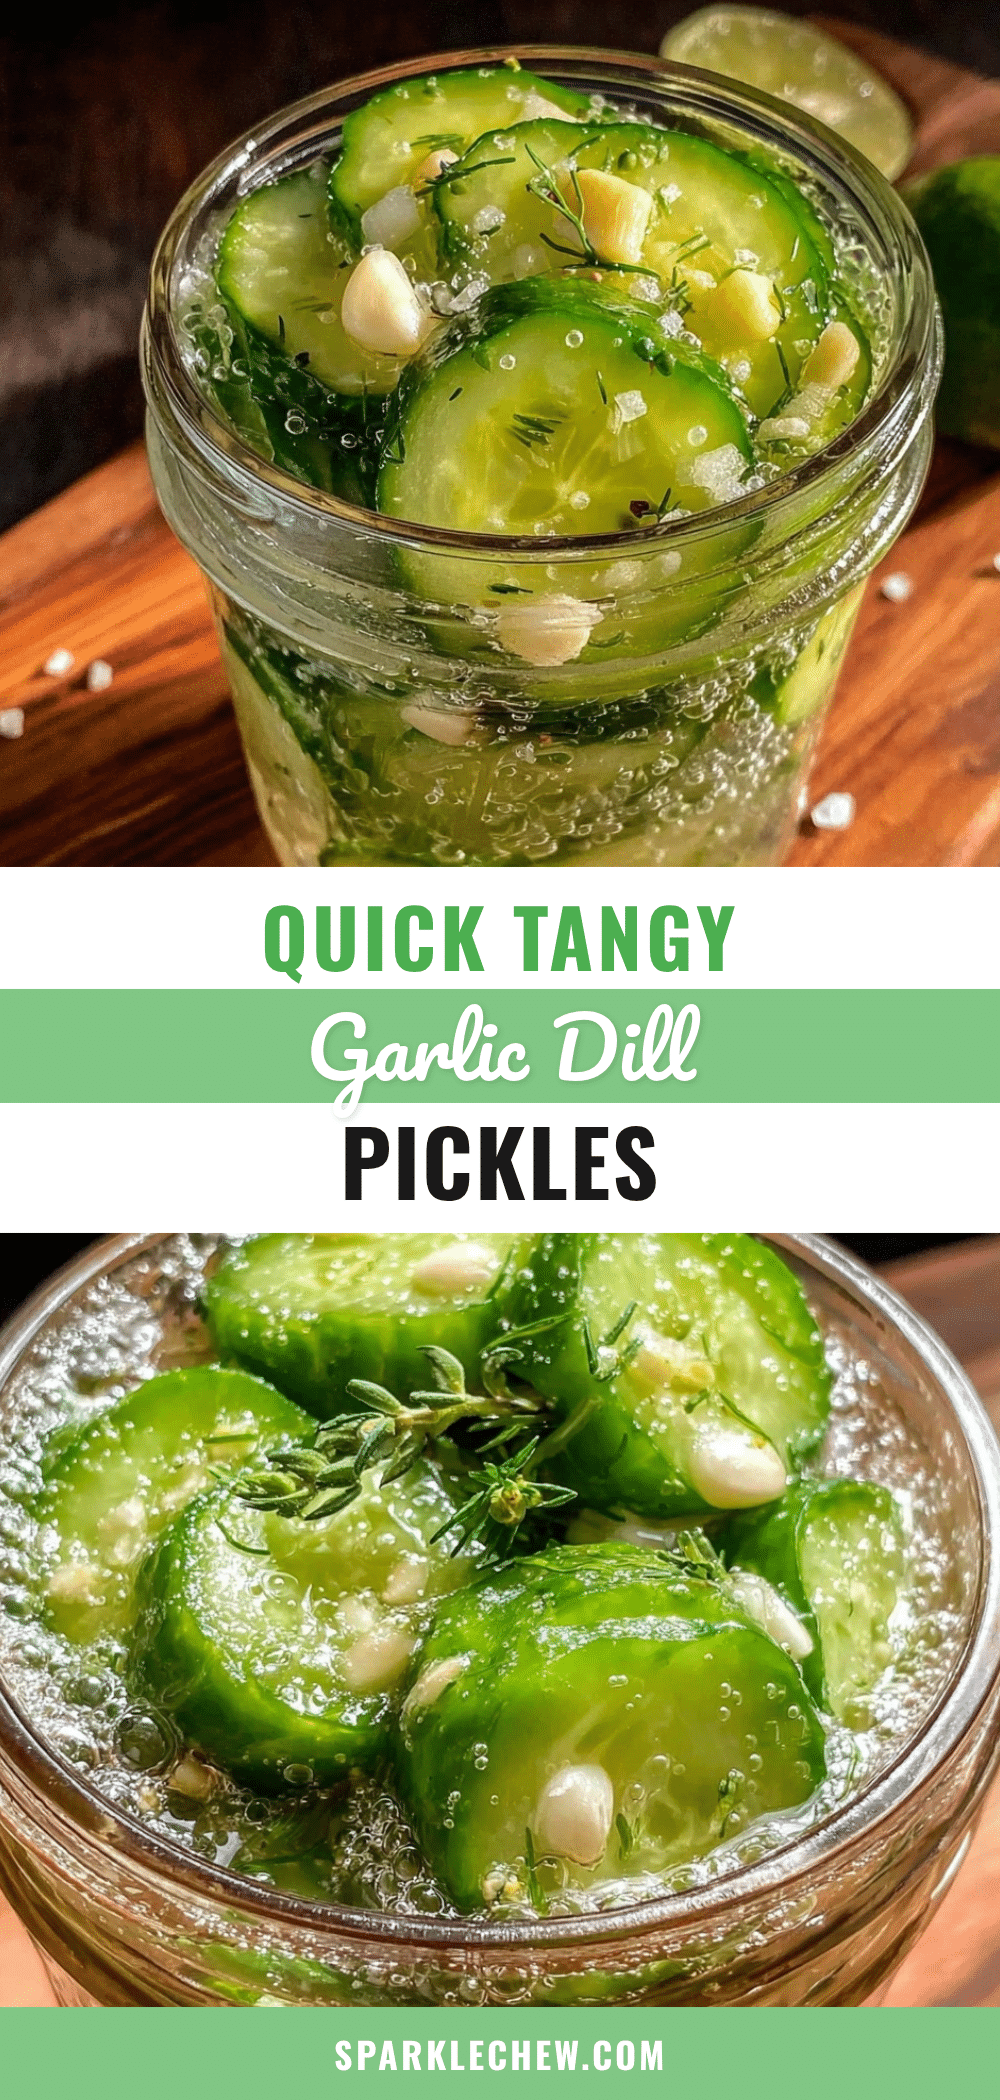
Quick Tangy Garlic Dill Refrigerator Pickles
A simple and speedy recipe for homemade refrigerator pickles with a tangy garlic and dill flavor, ready to eat in just 24 hours.
- Prep Time: 15 minutes
- Cook Time: 0 minutes
- Total Time: 24 hours
- Yield: 4 servings 1x
- Category: Condiment
- Cuisine: American
Ingredients
- 1 pound (450 grams) small to medium cucumbers (Kirby or pickling cucumbers preferred)
- 3–4 large garlic cloves, peeled and lightly smashed
- 2 tablespoons dried dill weed or 4–5 sprigs fresh dill
- 1 cup (240 ml) white vinegar
- 1 cup (240 ml) water
- 1 tablespoon kosher salt or pickling salt
- 1 teaspoon sugar (optional)
- 1 teaspoon whole black peppercorns
- 1/4 teaspoon red pepper flakes (optional)
Instructions
- Wash 1 pound (450 grams) of fresh cucumbers thoroughly. Slice into 1/4-inch (0.6 cm) thick rounds or spears.
- In a mixing bowl, combine 1 cup (240 ml) white vinegar, 1 cup (240 ml) water, 1 tablespoon kosher salt, and 1 teaspoon sugar (if using). Stir until salt and sugar dissolve. Optionally warm gently to dissolve faster, then cool.
- Add 3-4 smashed garlic cloves, 2 tablespoons dried dill weed or fresh dill sprigs, 1 teaspoon whole black peppercorns, and 1/4 teaspoon red pepper flakes if desired to the brine.
- Place sliced cucumbers in a clean quart (1-liter) jar or container, packing tightly but not crushing.
- Pour the brine over the cucumbers, covering completely. Push down cucumbers if they float, using a weight or parchment paper to keep submerged.
- Seal the jar tightly and refrigerate. Flavor develops after 24 hours, best after 48 hours.
- Enjoy cold straight from the jar. Consume within 2 weeks for best flavor and crunch.
Notes
Smash garlic cloves to release oils for better flavor. Keep cucumbers fully submerged in brine to avoid softening or mold. Use fresh, firm cucumbers for best crunch. To re-crisp softened pickles, soak in ice water for 15 minutes before serving.
Nutrition
- Serving Size: About 1/4 of the rec
- Calories: 10
- Sugar: 1
- Sodium: 600
- Carbohydrates: 2
- Fiber: 1
Keywords: quick pickles, refrigerator pickles, garlic dill pickles, easy homemade pickles, tangy pickles, no-cook pickles